An online course for first-time DIYers
Epoxy your countertops without the costly mistakes.
Decide honestly whether your counter should be coated, set up a safe room, and get a practice sample right before you touch the real thing. With the failures filmed, not edited out.
For homeowners with dated counters. About 2 h 55 min of video, at your own pace.
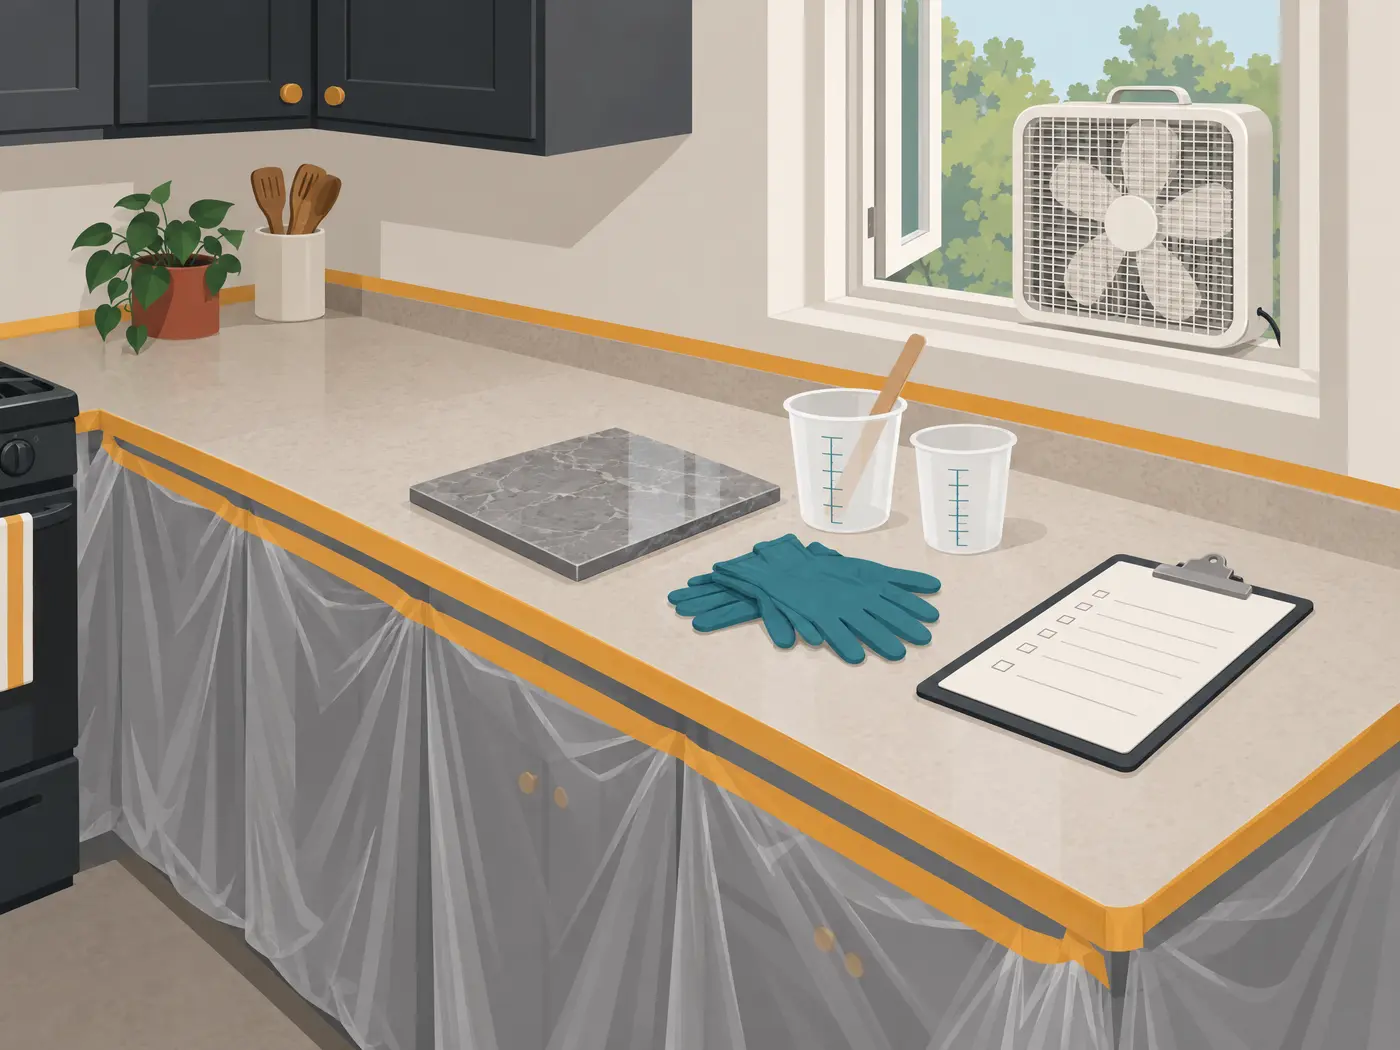
Most epoxy tutorials skip the parts that go wrong.
Only the perfect pours
You see the glossy reveal, not the bubbles, soft spots and peeling. We film the failures too, and a project we’d turn down.
One recipe for every resin
Mix ratios, working time and cure differ by product. Every step points you to your product’s own label, SDS and TDS.
Straight to the kitchen counter
The first pour shouldn’t be on the counter you use every day. You practice on a sample panel, and only go on once it passes.
Before you buy anything: the go/no-go check
Should you epoxy your counter at all?
Four questions. Some counters shouldn’t be coated, and it’s cheaper to find out now.
Is the counter solid and flat: no loose, soft, swollen or flexing spots?
Can you ventilate the room and keep children and pets out for the whole cure?
Can you go without the counter for as long as the product needs to cure?
Will you coat a practice sample before the real counter?
Answer all four to see where you stand.
How it works

- 1
Decide go or no-go
Check the surface, the room and the downtime first. Some counters are better painted, overlaid, replaced or left to a pro.
- 2
Pass a practice panel
Prep, mix and coat a small sample with your product, then inspect it after its full cure. It has to pass before you go on.
- 3
Coat with hold points
Follow the full demonstration with a checklist that tells you where to stop, check and wait, and what to do if something looks wrong.
Seven modules

About 2 h 55 min of video, plus the field guides: a suitability and budget worksheet, a safe-work plan, a practice-panel scoring sheet, a project-day checklist and a guide to what each failure means for your next step.
- 01Should you even use epoxy?
- 02Safety and workspace readiness
- 03Products, tools and quantities
- 04Practice on a sample first
- 05A full real-world demonstration
- 06Failure recognition and escalation
- 07Care and future maintenance
Questions
I’ve never done anything like this. Is it for me?
Yes. It’s written for first-time DIYers, and the first module helps you decide honestly whether to do it at all.
Which epoxy does it use?
One product system, shown start to finish. For any other product you’ll learn to read its label, safety data sheet (SDS) and technical data sheet (TDS), and to follow those over any video, ours included.
Will my counter look like marble?
We can’t promise a look. Results depend on the product, your surface and your hands. That’s why you practice on a sample first.
Is the finished surface food-safe and heat-resistant?
It depends on the product, and on what its maker documents. The course shows where to find those claims, and doesn’t make any of its own.
How long does the project take?
Longer than a weekend, usually. Prep, the cure and keeping people out of the room all take time, and the course plans for it instead of hiding it.
When does it open, and what does it cost?
Soon. It’s one price, paid once, with no subscription. Join the waitlist and we’ll email you when it opens, with an early-bird price.
Practice first. Then the counter.
Seven modules, a required practice panel, a library of real failures and the checklists to go with them. One price, paid once, no subscription.